
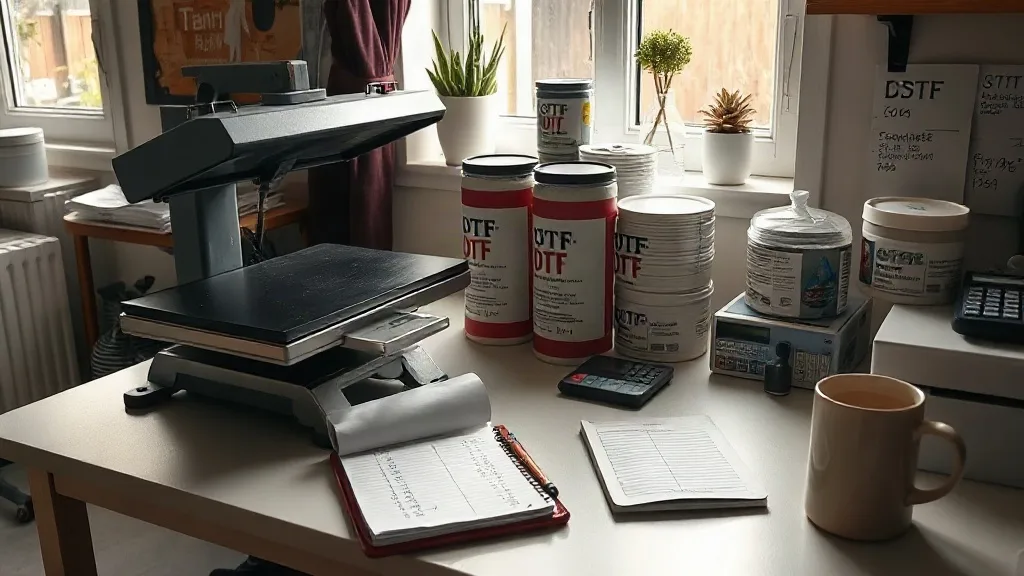
You already know that dtf transfers can be a profitable addition to your shop. But if you are like most operators, you have probably priced a job by gut feeling at least once. Maybe you charged $4 for a transfer that cost you $2.50 to make, only to realize later that press time and waste ate the rest. Pricing is not about picking a number that sounds fair; it is about covering every hidden cost and still leaving room for growth. This guide walks through a practical, numbers-first approach to pricing dtf work so you can stop guessing and start building a margin you can defend.
Why Most DTF Pricing Goes Wrong
The biggest mistake is treating transfers like a product rather than a service. A transfer is not just a sheet of film; it is ink, powder, curing time, press time, and the labor of someone who knows how to handle a heat press without scorching a shirt. When you price only the consumables, you leave the most expensive part of your operation, your time, unpaid. Another common trap is copying a competitor's price without knowing their volume or overhead. A shop running gang sheets all day can charge less per square inch than a small operation pressing one-off orders, but that does not mean their price is right for you.
Breaking Down the Real Cost of a DTF Transfer
Before you can set a price, you need to know what a transfer actually costs you. The figure changes with design size, film brand, and how efficiently you gang sheets, but the categories are always the same.
Consumables: Film, Powder, and Ink
Start with the materials you can measure directly. A 13x19 inch sheet of film, a scoop of adhesive powder, and the ink laid down for a full-color design all add up. For a typical A4-sized transfer with moderate coverage, many shops land between $0.80 and $1.40 in consumables. White ink heavy designs push that higher. If you buy film in bulk and use a powder shaker rather than dipping, you can shave a few cents per sheet, but do not fool yourself into thinking consumables are free.
Press Time and Labor
This is where most pricing models fall apart. A transfer needs to be pressed at the right temperature and pressure for a set time, and someone has to load the shirt, align the transfer, peel the film, and inspect the result. Even if you are the one doing it, your time has a value. Track how many transfers you can press in an hour, including setup and cooling. If you can do 20 small transfers in an hour and you want to earn $30 per hour, that is $1.50 per transfer just for labor. Add that to your consumables and you are already near $2.50 before profit.
Waste and Rework
No shop has zero waste. Film jams, powder spills, misaligned prints, and the occasional scorched shirt all cost money. A realistic waste factor is 5 to 10 percent of your consumables. If you ignore it, your margin quietly disappears. Build it into your price by multiplying your consumable cost by 1.05 or 1.10, depending on how tight your process is.
A Simple Formula You Can Use Today
Here is a pricing formula that works whether you sell transfers wholesale or apply them to garments. It is not magic, but it forces you to account for every cost.
- Calculate consumable cost per transfer. Add film, powder, and ink for the specific design size. If you gang sheets, divide the sheet cost by the number of transfers on it.
- Add labor. Estimate your press time per transfer, including loading and peeling, and multiply by your target hourly rate. If you pay an employee, use their fully loaded wage.
- Add waste. Multiply the sum of consumables and labor by your waste factor (1.05 to 1.10).
- Add overhead. This covers rent, electricity, equipment depreciation, and software. A common approach is to add 15 to 25 percent of the subtotal, but adjust for your actual expenses.
- Add profit. This is your margin. For wholesale transfers, 30 to 50 percent is typical; for retail application on a garment, you can aim higher because you are selling a finished product.
When you run the numbers, a transfer that costs $2.50 in materials and labor might need to sell for $5.00 to $6.00 to hit a healthy margin. That may sound high compared to a $3.00 competitor, but if that competitor is losing money on every sheet, their price is not a benchmark you want to match.
Pricing for Different Sales Channels
Your price should change depending on who is buying and what they expect. A customer who orders a single transfer for a personal project has different needs than a print shop buying 50 transfers a week.
Direct-to-Consumer Transfers
When you sell a transfer to someone who will press it themselves, you are selling convenience and guidance. They may not know the right press settings, so include a simple instruction card. Your price can be higher per square inch because the volume is low and the support is part of the value. Many shops set a minimum order of $15 to $20 to make small jobs worth the setup.
Wholesale to Other Shops
Wholesale buyers care about consistency and turnaround. They will compare your price per transfer to their in-house cost. To compete, you need efficient gang sheets and a reliable workflow. Offer tiered pricing: the more they order, the lower the per-unit price, but never drop below your cost plus a minimum margin. A 20 percent margin on a large order is better than a 40 percent margin on an order you never get because your price was too high.
Finished Garments
If you are pressing transfers onto shirts and selling the finished product, your pricing should follow the garment, not the transfer. The customer is buying a shirt, and the transfer is one component. Price the shirt based on its blank cost, your decoration cost, and a retail markup that fits your market. A common mistake is to price the shirt as if the transfer were free, which undervalues your work and leaves money on the table.
Common Pricing Mistakes That Kill Margins
- Forgetting to charge for setup. Small orders require artwork prep, film loading, and press setup. Add a setup fee or set a minimum order value.
- Ignoring shipping and packaging. If you ship transfers, the cost of mailers, tape, and labels adds up. Charge actual shipping plus a small handling fee.
- Underestimating press time. Timing yourself for a week will reveal that pressing takes longer than you think, especially with cooling and peeling.
- Not raising prices when costs rise. Film and powder prices fluctuate. Review your pricing quarterly and adjust as needed.
- Competing solely on price. There will always be someone cheaper. Compete on quality, turnaround, and reliability instead.
If you are still exploring how to source transfers or want to compare your costs to a professional operation, looking at dtf transfers from a dedicated provider can give you a baseline for what quality film and powder should cost. Many shop owners find that buying transfers ready-made for certain jobs is more profitable than printing everything in-house, especially for low-volume or complex designs.
When to Print In-House vs. Outsource
The decision to print your own transfers or outsource them is a pricing question as much as a production one. If you have a printer and press, your cost per transfer drops with volume, but only if you keep the machine busy. For a shop that sells 50 transfers a month, the equipment cost per transfer can be high. Outsourcing to a service that specializes in dtf transfers near me can be cheaper than maintaining your own printer, especially if you factor in maintenance, ink, and the learning curve of perfecting your own prints.
Run the numbers both ways. If your in-house cost per transfer, including equipment depreciation and your time, is higher than a supplier's price, outsource that work and focus on what you do best. Many successful shops use a hybrid model: they print high-volume, simple designs in-house and outsource complex or low-volume jobs.
Building a Pricing Sheet That Scales
Once you know your costs, create a simple pricing sheet that anyone on your team can use. Break it down by transfer size (e.g., small, medium, large) and include a per-inch rate for custom sizes. Add a column for quantity discounts. Test the sheet on a few real orders and adjust as you learn. The goal is to make pricing fast and consistent, so you spend less time quoting and more time producing.
Finally, track your actual profit on every job. Compare what you quoted to what you spent. If you consistently make less than planned, your formula needs a tweak. Pricing is not a one-time task; it is a habit that keeps your shop healthy.
Frequently Asked Questions
How much should I charge for a DTF transfer?
There is no single answer, but a common range for a standard A4 transfer is $4 to $8 for direct-to-consumer sales, depending on your costs and market. Wholesale prices are often lower, around $2.50 to $4 per transfer for bulk orders. Use the formula in this guide to calculate your specific cost and add your desired margin.
Should I include press time in my transfer price?
Yes, if you are pressing the transfer onto a garment for a customer or if you sell finished shirts. If you are selling transfers only, the customer does the pressing, so your price should cover your printing and preparation time, not the final press. Be clear about what is included.
How do I price DTF transfers for small orders?
Small orders carry higher setup costs per unit. Set a minimum order value, such as $15 or $20, or add a small-order fee. This ensures that a single transfer does not cost you money in labor and materials.
What is a good profit margin for DTF transfers?
A 30 to 50 percent gross margin is a healthy target for most shops. If you are selling finished garments, your overall margin can be higher because you are also marking up the blank shirt. Track your actual costs to make sure you are hitting your target.
How often should I review my DTF pricing?
Review your pricing at least quarterly, or whenever your material costs change significantly. Film and powder prices can fluctuate, and your labor costs may change if you hire or give raises. A quick review prevents your margin from eroding over time.