
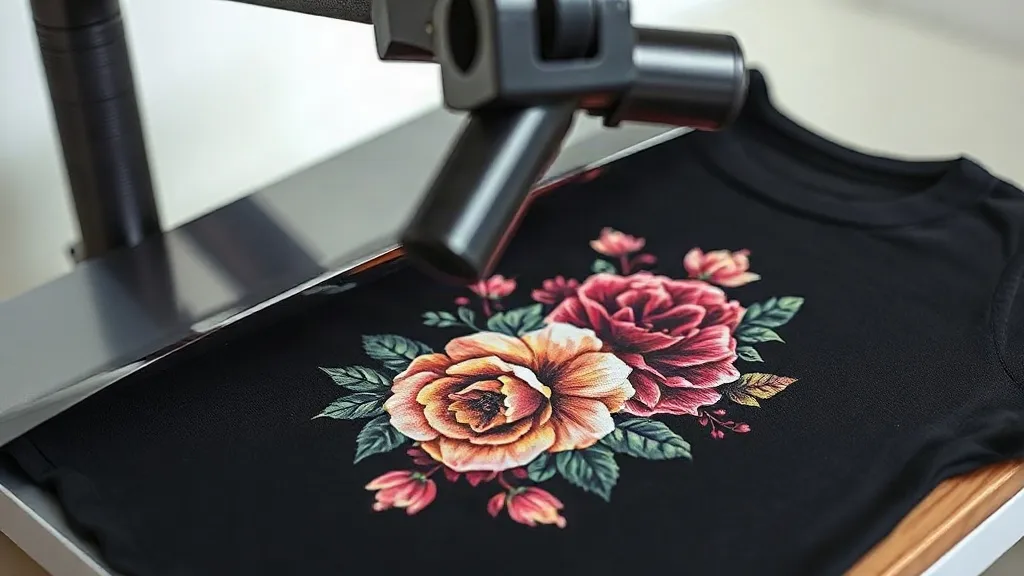
When you first hear about dtf printing, it might sound like just another trendy acronym in the apparel decoration world. But dig a little deeper, and you will find a technology that solves real problems for small business owners, crafters, and anyone who wants to put a custom design on a shirt without investing in expensive equipment. Direct-to-film, or DTF, has quietly become a go-to method for producing full-color transfers that feel soft, stretch with the fabric, and hold up after dozens of washes. Unlike vinyl cutting or screen printing, DTF does not require weeding, color separation, or a separate plate for each hue. You simply print your artwork onto a special film, powder it with hot-melt adhesive, and heat press it onto your garment. The result is a professional-looking transfer that works on cotton, polyester, blends, and even some nylon jackets. In this guide, I will walk you through what makes DTF tick, how to choose the right supplies, and the exact steps I use in my own shop to get consistent results.
What Exactly Are DTF Transfers?
At its core, a dtf transfers is a printed design on a PET film that has been coated with a thermoplastic adhesive powder. The process starts with a digital printer equipped with pigment inks, typically CMYK plus white. The white ink layer is crucial because it allows the colors to pop on dark fabrics without the need for a separate underbase. After printing, the film is dusted with adhesive powder, which is then melted into the ink using a heat source. This creates a transfer that can be stored for weeks or months before use. When you are ready to apply it, you place the transfer on your garment and press it with a heat press. The adhesive bonds with the fabric fibers, and after peeling the film away, you are left with a vibrant, flexible print. The beauty of this method is that it does not require any pre-treatment of the garment, and it works on a huge range of materials. I have personally used DTF transfers on 100% cotton t-shirts, 50/50 blends, and even polyester performance wear with great success. The key is to follow the correct temperature, pressure, and time settings.
Why DTF Transfers Stand Out from Other Decorating Methods
If you have ever tried screen printing, you know that each color in your design requires its own screen, which means setup costs and time. With DTF, you can print a full-color photograph or a complex illustration in one go. There is no color matching, no registration issues, and no wasted ink cleaning screens. Compared to heat transfer vinyl (HTV), DTF eliminates the tedious weeding process. If you have ever spent an hour picking tiny pieces of vinyl out of a intricate design, you understand the appeal. DTF also outperforms direct-to-garment (DTG) printing in terms of durability on dark shirts; DTG often requires a pretreat spray and can fade faster, while DTF transfers are known for their stretch and wash resistance. Another advantage is the ability to print on demand. You can produce a single transfer for a custom order without tying up your press for hours. For small businesses, this flexibility is a game-changer. I have seen many crafters transition from HTV to DTF because it allows them to offer more detailed designs with less labor. The cost per transfer is also competitive, especially when you factor in the time saved.
Durability and Washability
One of the first questions people ask about DTF is how long it lasts. In my experience, a properly applied DTF transfer can survive 50 or more wash cycles without cracking or fading. The adhesive powder creates a strong bond that flexes with the fabric, so even on stretchy materials like spandex blends, the print moves without breaking. However, durability depends on following the correct application parameters. If you under-press or use too little pressure, the transfer may peel prematurely. If you over-press, the adhesive can become brittle. I always recommend doing a wash test on a scrap piece of fabric before committing to a large order. After pressing, wait 24 hours before the first wash, and always turn the garment inside out and use cold water. Avoid fabric softeners and bleach, as they can degrade the adhesive over time. With these simple care instructions, your DTF transfers will look great for the life of the garment.
Fabric Compatibility
Not all fabrics are created equal, but DTF transfers are remarkably versatile. They adhere well to cotton, polyester, cotton-poly blends, canvas, and even leather. The only fabrics I would caution against are those with a heavy waterproof coating or a very rough texture like corduroy, where the adhesive may not reach all the fibers. For nylon jackets, a lower temperature is usually needed to avoid scorching. Always test on a hidden area first. The ability to print on both light and dark garments without changing your process is a major time-saver. You do not need to switch to a different transfer type for dark shirts; the white ink layer handles that automatically. This uniformity simplifies inventory and ordering, especially if you offer a wide range of apparel colors.
How to Apply DTF Transfers Correctly
Getting a professional result with DTF transfers comes down to three variables: temperature, pressure, and time. While exact settings vary by heat press and transfer supplier, here is a reliable starting point that I have refined over hundreds of applications.
- Preheat your heat press to 325°F (160°C). If you are working with a blend that contains a lot of polyester, you might lower it to 300°F to prevent dye migration.
- Pre-press the garment for 5-10 seconds to remove moisture and wrinkles. This step is often overlooked but makes a big difference in adhesion.
- Place the transfer on the garment with the printed side facing up. The film should be on top, and the adhesive side is touching the fabric.
- Press with medium to firm pressure for 10-15 seconds. If your press has a pressure gauge, aim for 4-6 bars. Too little pressure and the adhesive will not penetrate; too much and the image can spread.
- Peel the film while it is still warm or after it has cooled completely, depending on the film type. Most modern DTF films are cold peel, but some are hot peel. Check your supplier's instructions. I prefer cold peel because it gives a smoother finish.
- Post-press the transfer for another 5-10 seconds with a Teflon sheet or parchment paper to fully set the adhesive and improve wash durability.
After pressing, inspect the edges. If you see any lifting, you can re-press for a few more seconds. With practice, you will develop a feel for the right settings on your specific press. I keep a notebook with the settings for each fabric type I use regularly, and it has saved me from many trial-and-error sessions.
Choosing the Right DTF Supplies
Not all DTF films and powders are created equal. The quality of your supplies directly affects the final output. When I first started, I tried a cheap film that curled at the edges and left a plastic feel. Switching to a reputable brand made a huge difference. Look for films that are coated evenly and have a consistent thickness. The powder should be fine and uniform; clumpy powder leads to uneven adhesive distribution. You also need a printer that can handle white ink. Many beginners start with a converted Epson printer and third-party ink systems, but if you plan to scale, a dedicated DTF printer with a built-in powder shaker is a worthy investment. For occasional crafters, you can order pre-printed transfers from a service like dtf transfers and apply them yourself. This is a great way to test the waters without buying expensive equipment. I often recommend this route to friends who want to make custom shirts for their family reunions or small events.
Common Mistakes to Avoid with DTF Transfers
Even with the best supplies, a few missteps can ruin your results. Here are the most common issues I see and how to fix them.
- Not pre-pressing the garment: Moisture in the fabric turns to steam during pressing, which can prevent the adhesive from bonding. Always pre-press for at least 5 seconds.
- Using too much pressure: This can cause the ink to spread and the image to look blurry. It can also push the adhesive too deep into the fabric, leaving a rough texture. Aim for medium pressure.
- Peeling too soon or too late: If you peel a cold-peel film while it is still hot, the adhesive may string and leave a messy edge. If you wait too long on a hot-peel film, the adhesive can cure and become impossible to remove cleanly. Know your film type.
- Ignoring fabric type: Polyester and cotton require slightly different settings. Always test on a scrap piece.
- Storing transfers improperly: Keep them in a cool, dry place away from direct sunlight. Humidity can cause the adhesive to become tacky, and dust can contaminate the powder.
By avoiding these pitfalls, you will get consistent, professional-looking results every time. I keep a checklist taped to my wall to remind me of each step, and it has reduced my error rate significantly.
Frequently Asked Questions About DTF Transfers
Can I use DTF transfers on 100% polyester?
Yes, DTF transfers work well on polyester, but you need to lower the temperature to around 300°F to prevent dye migration from the fabric into the ink. Some polyester fabrics have a tendency to bleed, so using a lower temperature and a shorter press time helps. Always test on a small area first. If you notice dye migration, you can try a poly-blend or use a barrier film.
How long do DTF transfers last?
With proper application and care, DTF transfers can last as long as the garment itself, often 50 or more washes. The key is to follow the correct pressing parameters and to wash the garment inside out in cold water. Avoid bleach and fabric softener. If you notice any cracking, it is usually a sign that the transfer was under-pressed or the powder was insufficient.
Do I need a special printer to make DTF transfers?
To print your own transfers, you need a printer that uses DTF pigment inks and can print white ink. Many people convert Epson printers with DTF ink systems, but this requires maintenance and can be messy. Alternatively, you can order custom transfers from a professional service and apply them with a heat press. This is a cost-effective option for small batches or if you are just starting out.
What is the difference between DTF and DTG printing?
DTF (direct-to-film) involves printing onto a film, powdering with adhesive, and then transferring to the garment with heat. DTG (direct-to-garment) prints directly onto the fabric, often requiring a pretreat solution for dark shirts. DTF transfers tend to be more durable on dark and synthetic fabrics, while DTG can produce a softer feel on 100% cotton. DTF also allows you to print on a wider range of materials and store transfers for later use.
Can I layer DTF transfers?
Yes, you can layer DTF transfers, but it requires a bit of planning. Press the first transfer, then peel the film. Place the second transfer on top and press again. Use a slightly lower temperature for the second press to avoid re-melting the first layer. Keep in mind that layering can make the print feel thicker, so it is best for small accents rather than large areas.
Final Thoughts on Getting Started with DTF
DTF transfers have opened up a world of possibilities for custom apparel. Whether you are a hobbyist making gifts or a small business owner looking to expand your product line, this technology offers a low barrier to entry and professional results. The key is to invest in quality supplies, learn the correct application settings, and practice. I still remember the first DTF shirt I made; it was a full-color design on a black cotton tee, and seeing it come out vibrant and smooth was incredibly satisfying. Since then, I have refined my process and helped others do the same. If you are ready to give it a try, start with a small order of pre-printed transfers from a trusted source, and once you are comfortable, consider scaling up. With a little patience, you will be producing durable, eye-catching prints that your customers will love.