
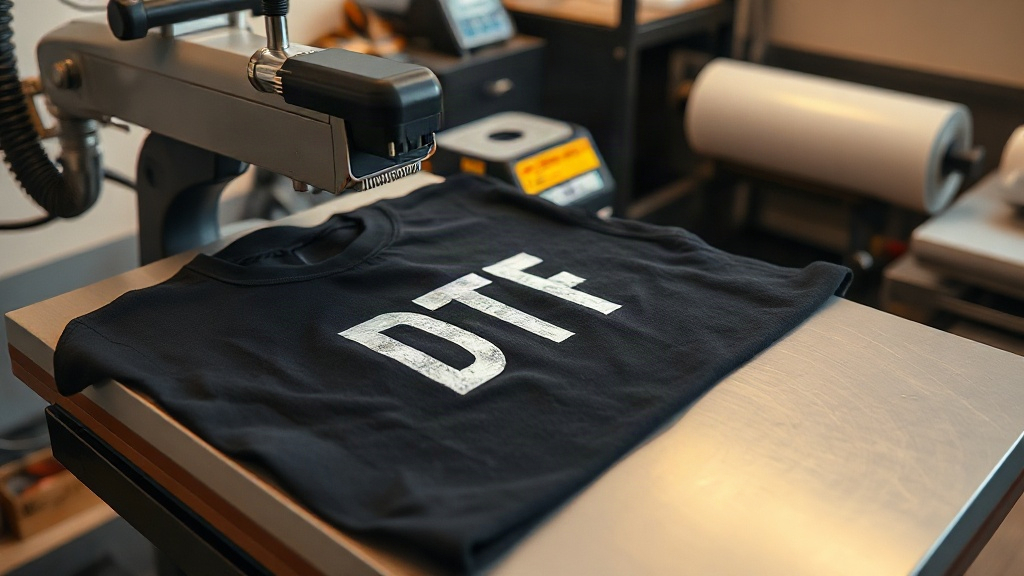
You've probably seen the vibrant, detailed prints on t-shirts and tote bags that seem to defy the limits of traditional screen printing. Chances are, those were created using DTF transfers. Direct-to-film printing has exploded in popularity among crafters and small business owners because it handles complex designs, gradients, and photos with ease, all without the setup costs of screen printing. But if you're new to the process, the variables can feel overwhelming: Which fabrics work? What temperature? How long do you press? This guide cuts through the noise with practical, field-tested advice so you can achieve professional-looking results from your first press.
What Are DTF Transfers and Why They Matter
DTF stands for Direct-to-Film. The process involves printing your design onto a special PET film using water-based inks, dusting it with a hot-melt adhesive powder, and then curing the powder. The result is a transfer that can be heat-pressed onto a wide range of materials. Unlike vinyl or sublimation, DTF transfers can be applied to cotton, polyester, blends, and even some nylons. This versatility makes them a go-to for anyone who wants to decorate apparel without investing in multiple systems.
Another advantage: DTF transfers are durable. When applied correctly, they stretch with the fabric and resist cracking and fading through dozens of washes. They also allow for incredibly fine detail, so you can print small text, intricate patterns, and full-color images without worrying about color separation.
Fabric Compatibility: What You Can and Can't Press
One of the biggest misconceptions is that DTF transfers work on everything. While they are more forgiving than other methods, some fabrics require extra care. Here's a breakdown:
- 100% Cotton: The gold standard. DTF adheres beautifully, feels soft, and lasts. Pre-press the garment to remove moisture and wrinkles.
- Cotton/Poly Blends: Also excellent. The higher the polyester content, the lower your press temperature should be to avoid scorching.
- 100% Polyester: Works well, but you must lower the temperature (around 270°F to 280°F) and use a pressing pillow or Teflon sheet to prevent dye migration. Some polyesters with heavy dyes may cause the transfer to discolor over time.
- Nylon: Possible, but tricky. Nylon can scorch easily, so use low heat and test first. A nylon-specific adhesive powder may be needed.
- Leather and Pleather: Not recommended for standard DTF. The heat can damage the material, and adhesion is poor.
- Waterproof or Coated Fabrics: Avoid unless you use a special low-temperature DTF film and adhesive. The coating can prevent proper bonding.
Always test on a scrap piece of fabric before pressing a final product. Every fabric behaves differently, and a little experimentation saves a lot of ruined blanks.
Heat Press Settings: Temperature, Pressure, and Time
Getting the settings right is the difference between a wash-durable print and one that peels off after two wears. Here are the baseline recommendations for a standard heat press:
- Temperature: 300°F to 325°F (150°C to 160°C) for cotton and blends. For polyester, reduce to 270°F to 280°F.
- Pressure: Medium to firm. You want the transfer to make full contact with the fabric. Too little pressure and the adhesive won't penetrate; too much and the design can spread or the fabric can scorch.
- Time: 10 to 15 seconds for the initial press. Then peel the film (hot or cold peel depending on your film type) and press again for 5 to 10 seconds with a Teflon sheet or parchment paper to set the adhesive.
Note that these are starting points. Thicker fabrics may need a few extra seconds, while thin or delicate materials may need less. Always follow the instructions provided by your DTF transfers supplier, as formulations can vary.
Hot Peel vs. Cold Peel: What's the Difference?
Some DTF films are designed for hot peel, meaning you remove the carrier film immediately after the first press while the transfer is still hot. Others require cold peel, where you wait until the transfer cools completely before peeling. Using the wrong method can ruin the design. Hot peel films generally produce a slightly glossier finish, while cold peel films tend to have a softer hand. Check your supplier's specifications and stick to them.
Step-by-Step Application Process
Follow these steps for consistent results:
- Preheat the garment: Press for 3-5 seconds to remove moisture and wrinkles. This also helps the transfer adhere evenly.
- Position the transfer: Place the DTF transfer with the printed side down onto the fabric. If your film has a matte side and a glossy side, the matte side is the printed side that goes against the fabric.
- Press: Apply the recommended temperature, pressure, and time.
- Peel: Remove the film according to hot or cold peel instructions.
- Post-press: Cover the design with a Teflon sheet or parchment paper and press again for 5-10 seconds. This ensures the adhesive fully cures and the edges are sealed.
After pressing, allow the garment to cool completely before stretching or wearing. This gives the adhesive time to set.
Troubleshooting Common DTF Issues
Even with perfect settings, things can go wrong. Here's how to fix the most common problems:
- Design peels after washing: Usually caused by insufficient pressure or time. Increase pressure and add a few seconds to the press time. Also ensure you post-press.
- Cracking: Often a sign of over-stretching the fabric before the transfer has cooled, or too much heat causing the adhesive to become brittle. Lower the temperature slightly and handle with care.
- Dull colors or faded print: Could be due to under-curing. Increase the post-press time. Also check that your heat press is calibrated; an IR thermometer can help.
- Adhesive residue on the film: If you see a lot of adhesive left on the film after peeling, the transfer didn't bond properly. Increase pressure or time.
Keep a log of your settings for each fabric type. Over time, you'll develop a reliable reference that minimizes trial and error.
Washing and Care Instructions for DTF Prints
To maximize the life of your DTF transfers, share these care tips with your customers (or follow them yourself):
- Wait at least 24 hours before the first wash.
- Turn the garment inside out.
- Machine wash cold with mild detergent.
- Avoid fabric softeners and bleach.
- Tumble dry low or hang dry. High heat can degrade the adhesive.
- If ironing is needed, do not iron directly on the print. Use a pressing cloth or iron inside out.
Following these steps will keep the print looking fresh for years.
Frequently Asked Questions About DTF Transfers
Can I use DTF transfers on dark fabrics?
Yes, DTF transfers work on both light and dark fabrics. The white ink layer in the transfer provides opacity, so colors pop even on black or navy garments. No need for a separate white underbase like with screen printing.
How long do DTF transfers last?
With proper application and care, DTF transfers can last 50+ washes without significant fading or cracking. The key is correct heat press settings and avoiding high heat during washing and drying.
Do I need a special printer to make DTF transfers?
Yes, you need a DTF printer that uses pigment inks and a film that can withstand the process. However, if you don't want to invest in a printer, you can order custom DTF transfers from a supplier and apply them with a standard heat press.
What is the difference between DTF and DTG?
DTG (Direct-to-Garment) prints directly onto the fabric, while DTF prints onto a film that is then transferred. DTF works on more fabric types, including polyester, and often produces more vibrant colors on dark garments. DTG is typically limited to cotton and requires pre-treatment.
Can I stretch DTF prints?
Yes, DTF transfers have some elasticity and will stretch with the fabric to a degree. However, excessive stretching can cause cracking over time. For stretchy fabrics like spandex blends, use a transfer with a high elastomeric adhesive.
With these insights, you're ready to tackle DTF transfers with confidence. Remember, practice makes perfect, so don't be afraid to experiment with small test pieces. Happy pressing!