
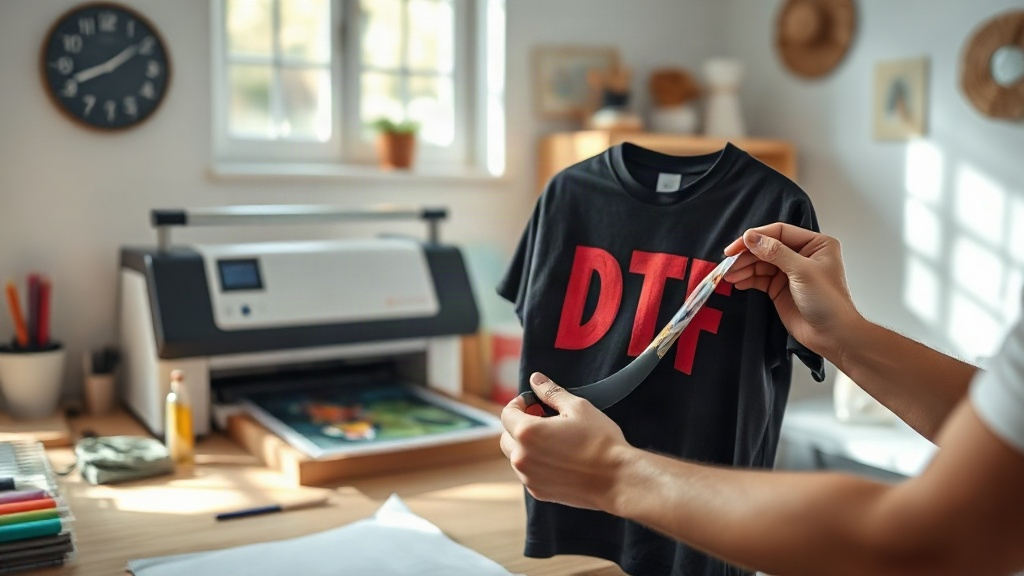
If you've been exploring custom apparel decoration, you've likely heard about DTF printing. It's quickly becoming a favorite among crafters and small business owners for its versatility and vibrant results. Unlike traditional methods, DTF (Direct to Film) printing lets you transfer detailed designs onto almost any fabric, from cotton to polyester and blends, without the need for pretreatment or weeding. In this guide, I'll walk you through everything you need to know to get started with DTF printing, sharing insights from my own experience and practical tips to help you achieve professional-looking transfers at home.
What Exactly Is DTF Printing?
DTF printing is a digital printing technology where your design is printed onto a special film, coated with a thermoplastic adhesive powder, and then heat-pressed onto the fabric. The process involves a specialized printer with pigment-based inks (usually CMYK plus white), a powder shaker, and a heat press. The white ink layer acts as a base, making colors pop on both light and dark garments. Because the design sits on top of the fabric rather than being dyed into it, DTF transfers work on a wide range of materials, including 100% cotton, polyester, nylon, leather, and even some treated woods.
Why Choose DTF Over Other Methods?
There are several reasons why DTF printing has gained traction. First, it eliminates the need for weeding, which saves hours on intricate designs. Second, it requires no pretreatment, unlike DTG printing, which needs a pretreat solution for dark shirts. Third, the color vibrancy and detail are exceptional; you can print gradients, fine lines, and photographs with stunning clarity. Additionally, DTF transfers stretch with the fabric, so they won't crack or peel easily if applied correctly. For small businesses, the cost per print is competitive, especially for short runs, making it a great option for custom orders.
Essential Supplies for DTF Printing
To start DTF printing, you'll need a few key items. Here's a list of what I recommend:
- DTF printer: A dedicated printer with DTF inks and a white ink channel. Popular models include the Epson F2100 or converted Epson EcoTank printers.
- DTF film: Special PET film with a matte side for printing and a glossy side for transferring.
- Adhesive powder: Thermoplastic polyurethane (TPU) powder that melts and bonds the ink to the fabric.
- Powder shaker/oven: A machine to evenly apply and cure the powder. You can also use a manual shaker and a heat gun, but a dedicated shaker yields more consistent results.
- Heat press: A reliable heat press capable of reaching 325°F (160°C) with even pressure.
- Design software: Any graphics program like Photoshop, Illustrator, or free alternatives like GIMP or Inkscape.
Step-by-Step DTF Printing Process
Once you have your supplies, follow these steps to create your first DTF transfer. I'll break it down into manageable stages.
1. Prepare Your Design
Start by creating or editing your artwork in your design software. Remember that DTF printing requires a white underbase, so your design should have a transparent background and be mirrored (flipped horizontally) before printing. This ensures the transfer reads correctly when applied. For best results, use high-resolution images (300 DPI) and avoid very thin lines that might not hold up.
2. Print onto DTF Film
Load your DTF film into the printer with the matte side facing the printhead. Send your mirrored design to print. The printer will lay down CMYK inks first, followed by a white layer. Ensure your printer settings are configured for DTF film and that the white ink density is sufficient to create an opaque base.
3. Apply Adhesive Powder
While the ink is still wet, sprinkle the TPU powder evenly over the printed area. You can use a powder shaker for this step. Gently shake off excess powder; you want a thin, uniform coating. Then, cure the powder by heating the film in an oven or with a heat gun until the powder melts and becomes glossy. This usually takes about 2-3 minutes at 320°F (160°C) in an oven.
4. Heat Press the Transfer
Set your heat press to 325°F (160°C) with medium pressure. Place your garment on the press, then position the DTF transfer on top with the printed side facing up. Cover with a Teflon sheet or parchment paper. Press for 15-20 seconds. Remove the garment and let it cool completely before peeling off the film. For a softer feel, you can press again for another 5 seconds after peeling.
Common Challenges and How to Fix Them
Even with experience, you might run into issues. Here are some common problems and solutions:
- Transfer not adhering: Increase pressure or temperature, or ensure the powder was fully cured.
- Cracking after washing: This often happens if the transfer was stretched too much during pressing or if the powder layer was too thin. Use a higher powder coat and press with firm pressure.
- Colors look dull: Make sure you're using a white underbase and that your printer's ink settings are correct. Also, check that the film is not expired.
- Film peeling off too easily: This could be due to insufficient cooling or too little pressure. Let the transfer cool completely before peeling.
Tips for Vibrant, Long-Lasting DTF Transfers
To get the best results from your DTF printing, keep these tips in mind:
- Always store unused film in a cool, dry place to prevent moisture absorption.
- Use a lint roller on the garment before pressing to remove dust and fibers.
- Pre-press the garment for a few seconds to remove wrinkles and moisture.
- Experiment with different powder amounts; too little causes poor adhesion, too much creates a rough texture.
- Wash garments inside out in cold water and tumble dry low to extend the life of the transfer.
Frequently Asked Questions About DTF Printing
Can I use DTF transfers on 100% polyester?
Yes, DTF transfers work excellently on polyester. The low pressing temperature (around 325°F) prevents scorching, and the transfer stretches with the fabric. Just be mindful that polyester can be heat-sensitive, so always test a small area first.
How long do DTF transfers last?
With proper application and care, DTF transfers can last as long as the garment itself. They withstand dozens of washes without fading or cracking. Following the washing instructions (inside out, cold water, low dryer heat) will maximize longevity.
Do I need a special printer for DTF?
You can convert a standard inkjet printer to use DTF inks, but it's crucial to use a printer with a white ink channel. Dedicated DTF printers are recommended for consistent results and less maintenance. Many beginners start with converted Epson EcoTank models.
What fabrics are not suitable for DTF?
DTF transfers adhere well to most fabrics, including cotton, polyester, blends, and even leather. However, they may not work on fabrics with heavy coatings or waterproof treatments, as the adhesive needs a porous surface to bond. Always test on a scrap piece first.
Can I print DTF transfers at home without a powder shaker?
Yes, you can manually apply powder and cure it with a heat gun. However, a powder shaker provides more even coverage and reduces waste. For occasional use, manual application is fine, but for frequent production, investing in a shaker is worthwhile.
Final Thoughts
DTF printing opens up a world of possibilities for custom apparel. Whether you're a hobbyist or running a small business, mastering this technique can set your creations apart. Remember, practice makes perfect; don't be discouraged if your first few transfers aren't flawless. With time and experimentation, you'll develop a feel for the process and produce vibrant, durable transfers that impress. So gather your supplies, fire up your printer, and start creating!